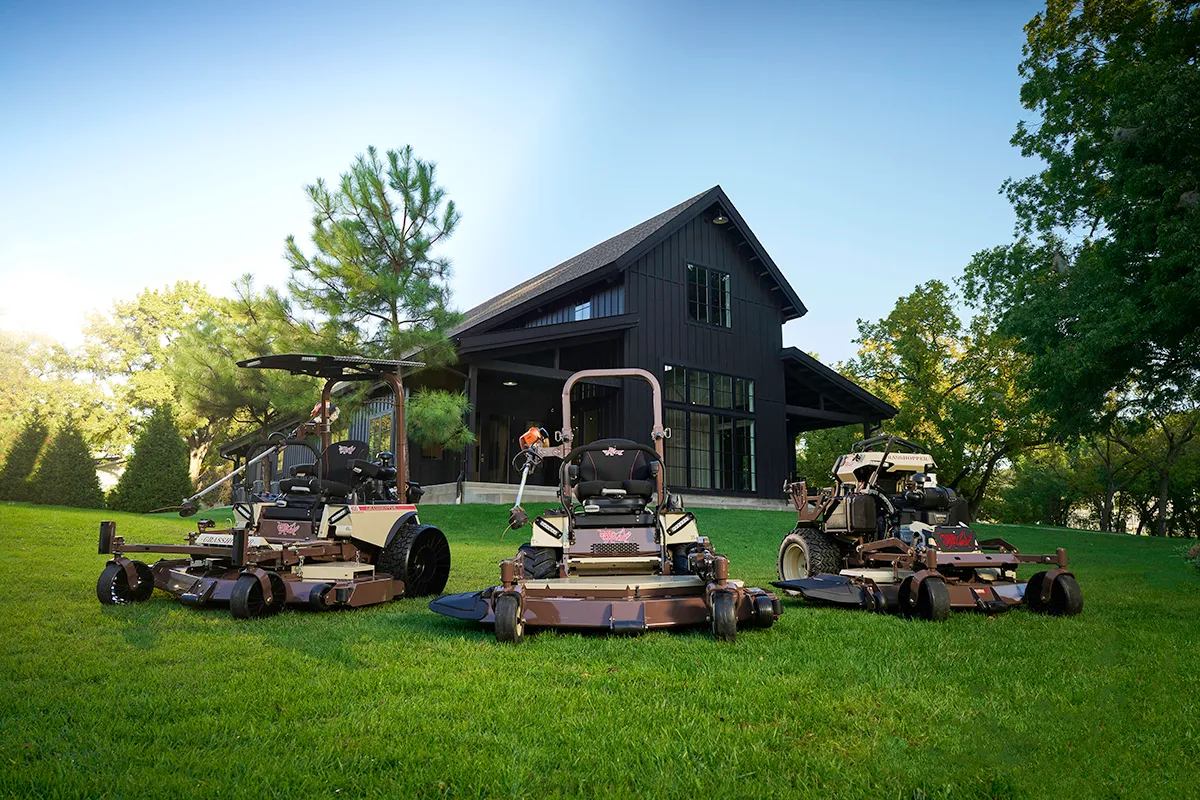
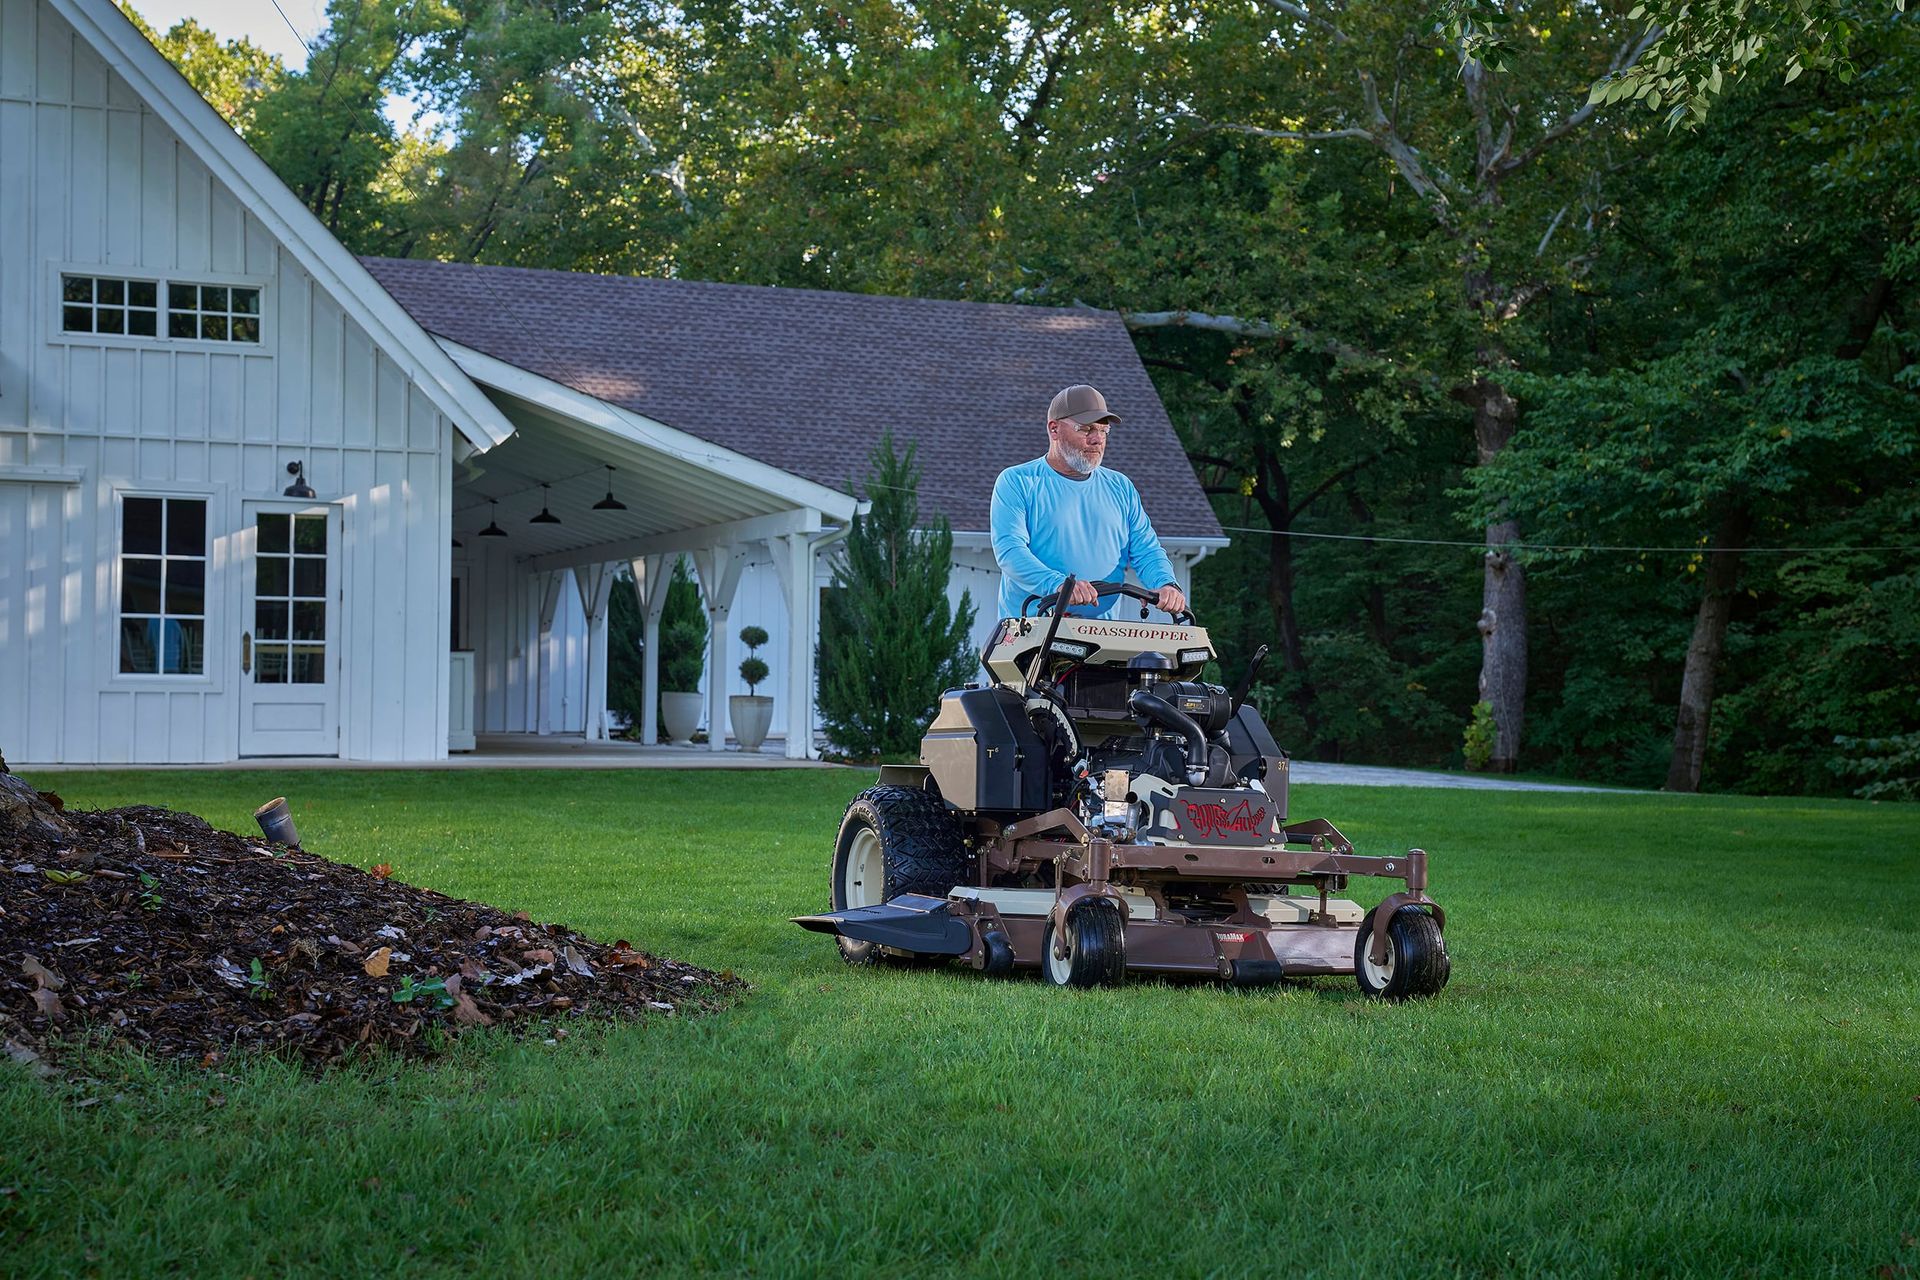
MidMount Zero-Turn Mowers
FrontMount Zero-Turn Mowers
Stand-On Zero-Turn Mowers
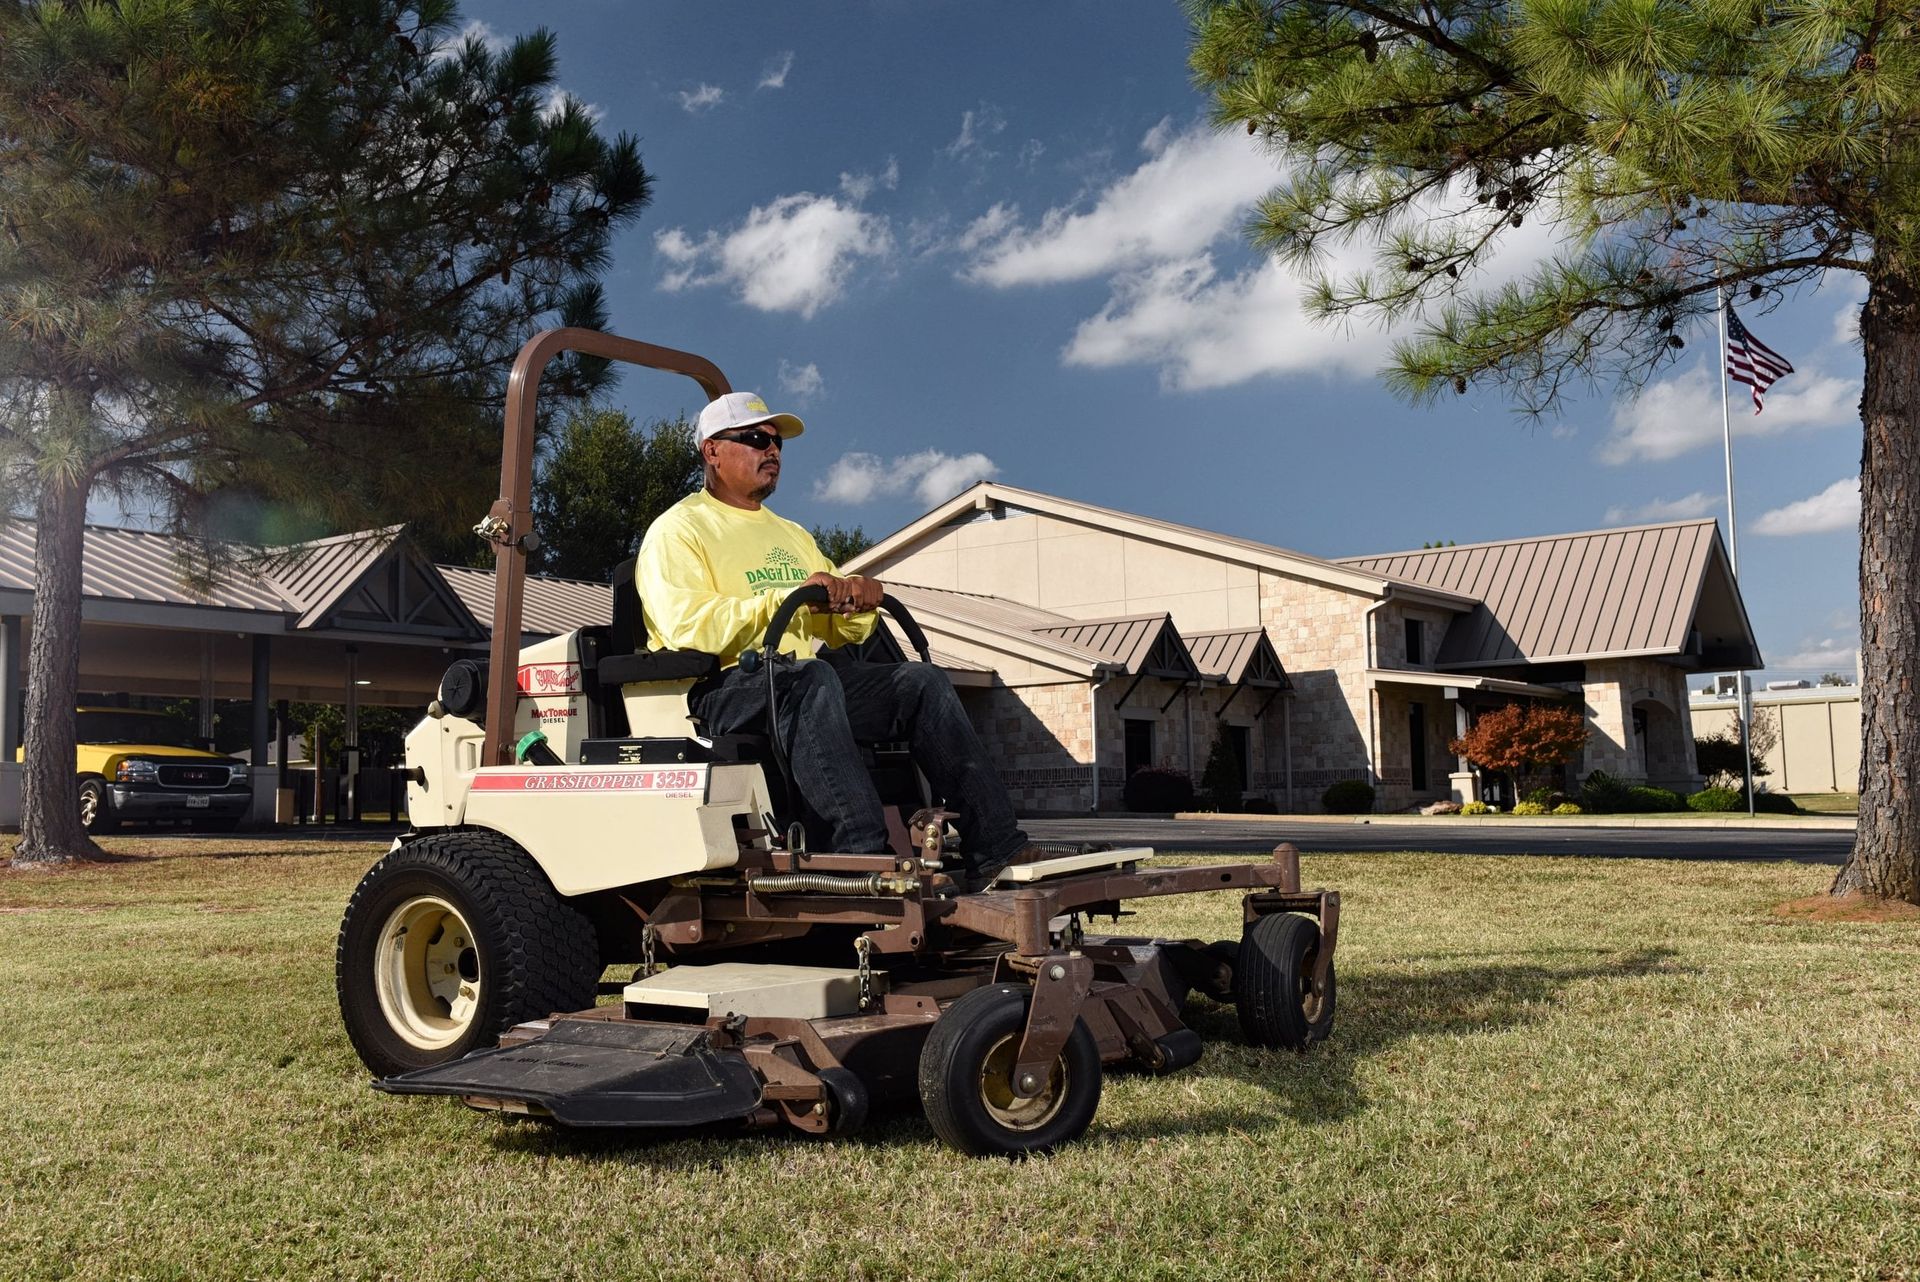
Diesel Zero-Turn Mowers
Not sure which zero-turn mower is right for you?
Take our quiz to find the best commercial zero-turn mower or best residential zero-turn mower for you.
MidMount Attachments
FrontMount Attachments
Stand-On Attachments
Not sure which zero-turn attachment is best for you?
Easily compare all riding lawn mower attachments to see how you can get more out of your mower.
Looking for support from your local mower dealer?
Your local dealer can also offer great service and support for your riding lawn mower. Find the dealer nearest you.
Get 0% for 48 months.
Elite performance doesn't need to cost elite money. Get 0.98% APR financing for 48 months on any new Grasshopper zero-turn mower.
Tips & lawn advice.
From seasonal turf care trends and mowing tips to unique insights into Grasshopper and the wider lawn care industry, read all that and more.
Grasshopper News

An American original: 50+ years of American-made Grasshopper Mowers
Read more
Landscapers
Guide to starting a lawn care business–Part 2
Read more
Landscapers

7 questions to ask before adding a new lawn care service
Read more
Lawn Care

The DIYer’s guide to fertilizing a lawn
Read more
Insider
-1920x1280.jpg?v=2026-05-29T18%3A13%3A48.250Z-6a19d75a2fdddec490c0fff5)
Why a FrontMount Mower might be your best investment in retirement
Read more
Insider

Cutting corners on the cost of a mower?
Read more
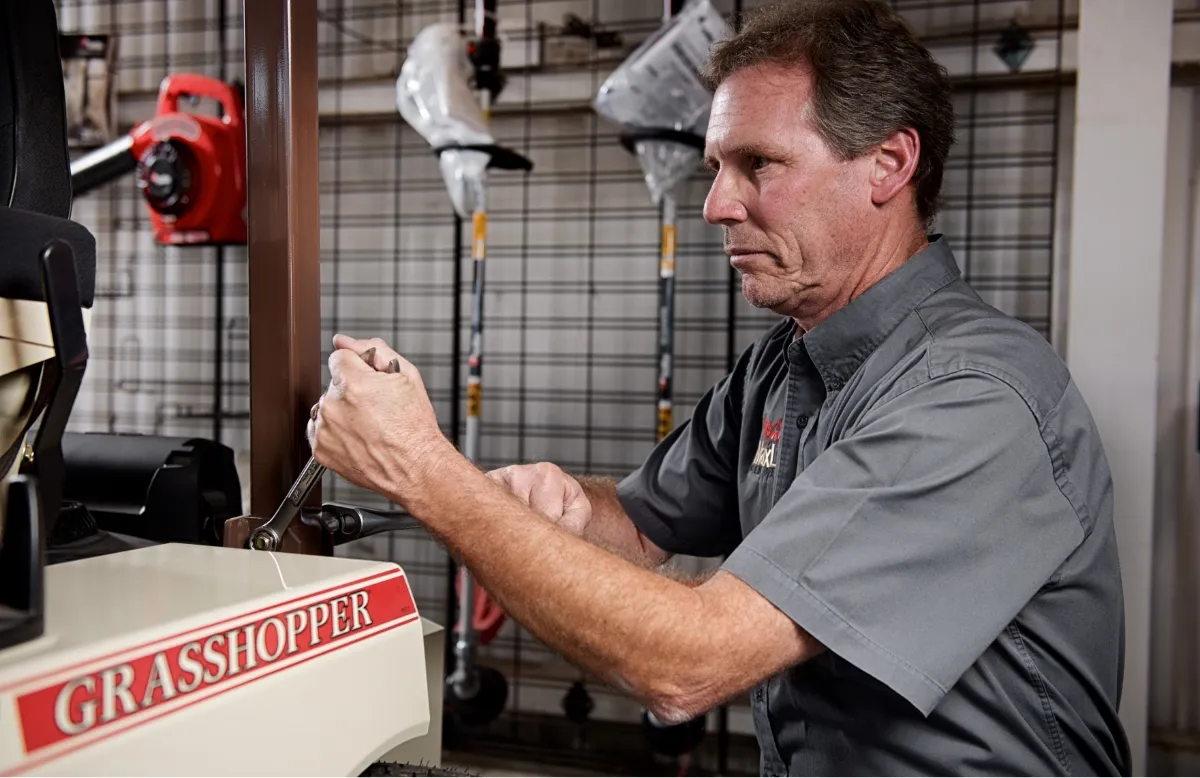
How Tos
-1920x1280.jpg?v=2026-05-29T18%3A13%3A38.295Z-6a19d7502fdddec490c0ffd9)
DIY tune-up checklist for zero-turn mowers
Read more
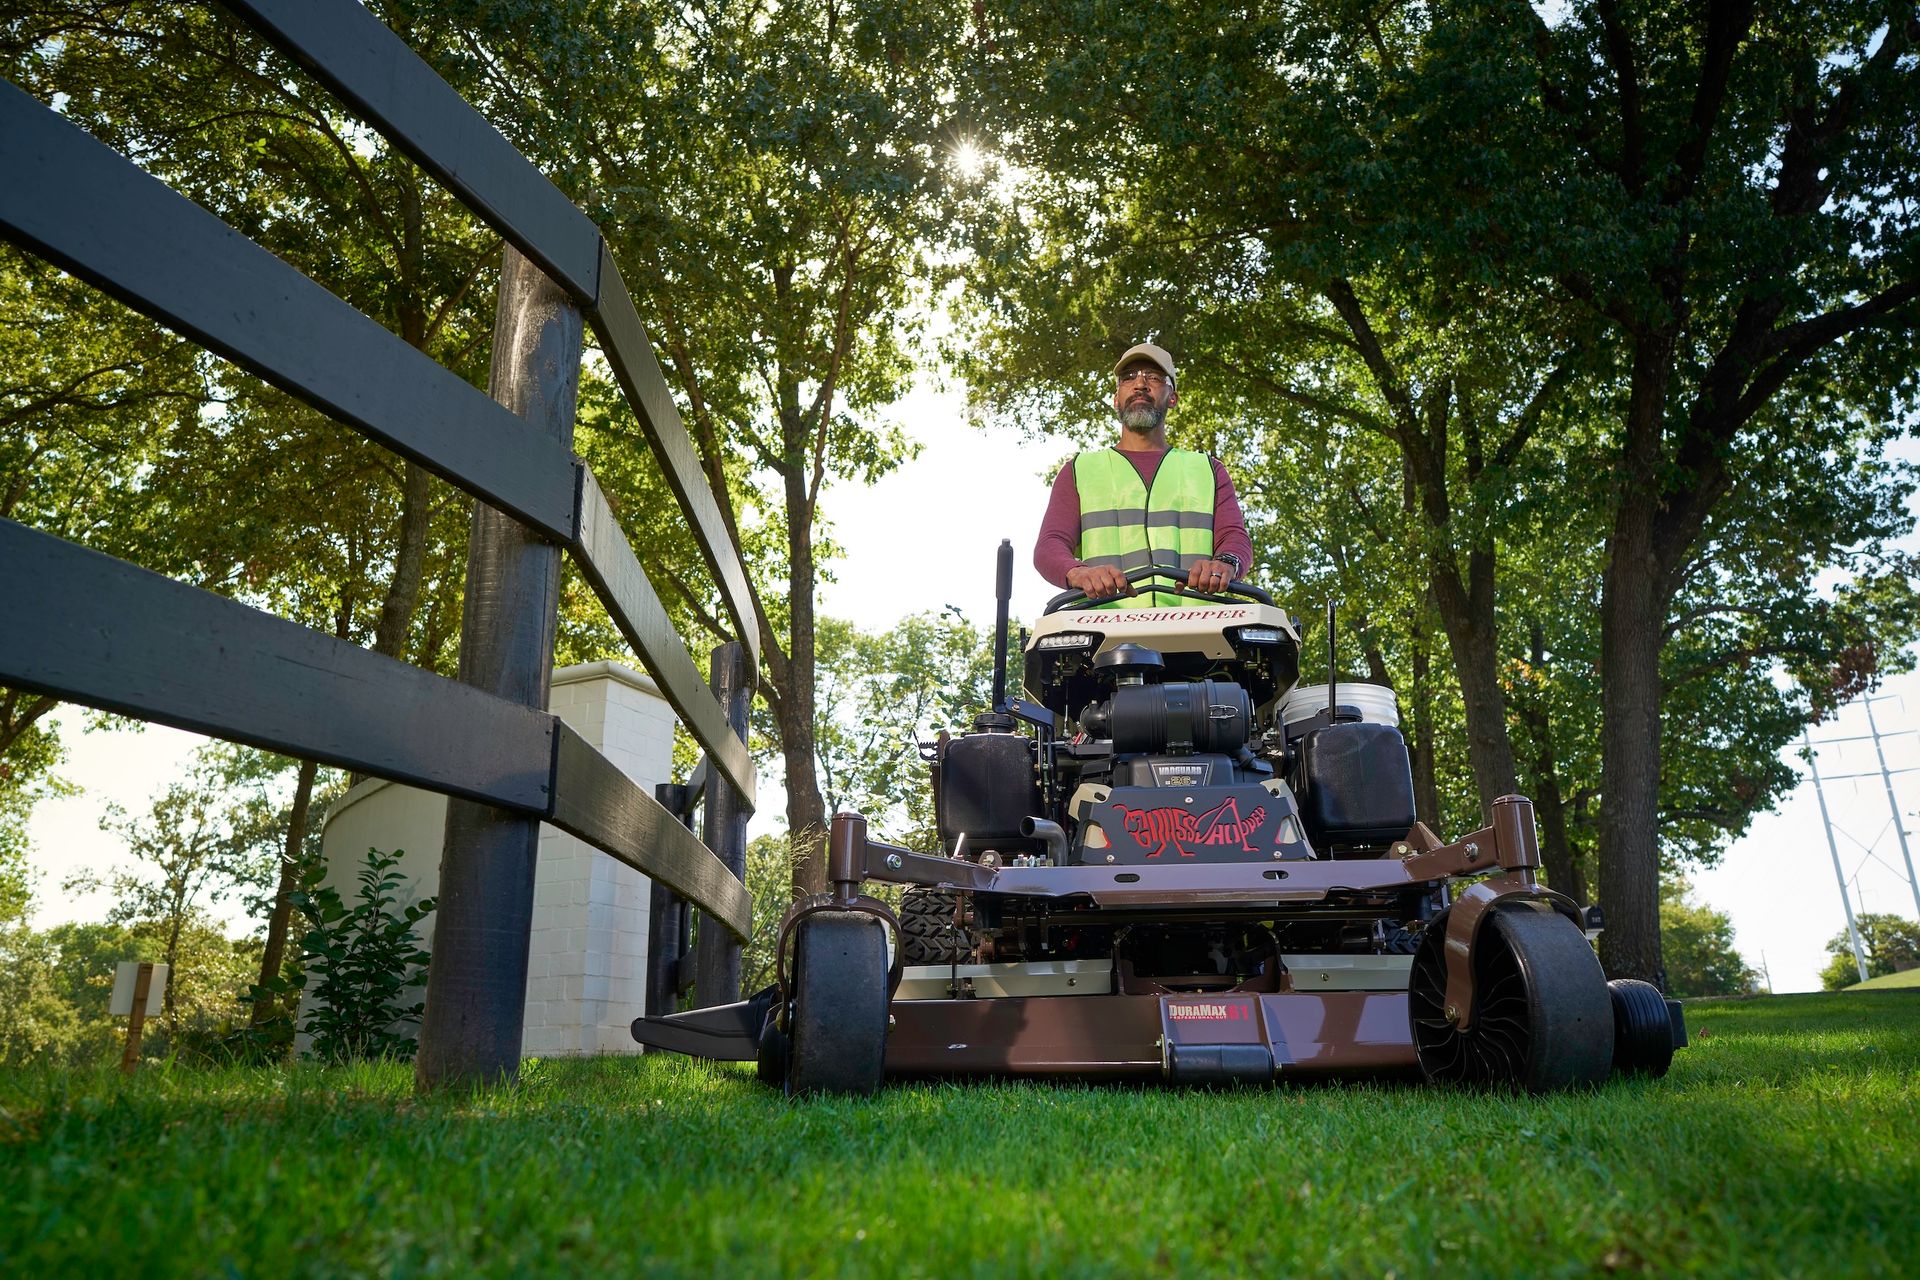
Government

Skip the bid: the faster, easier way for government agencies to buy Grasshopper through co-op contracts
Read more
Insider
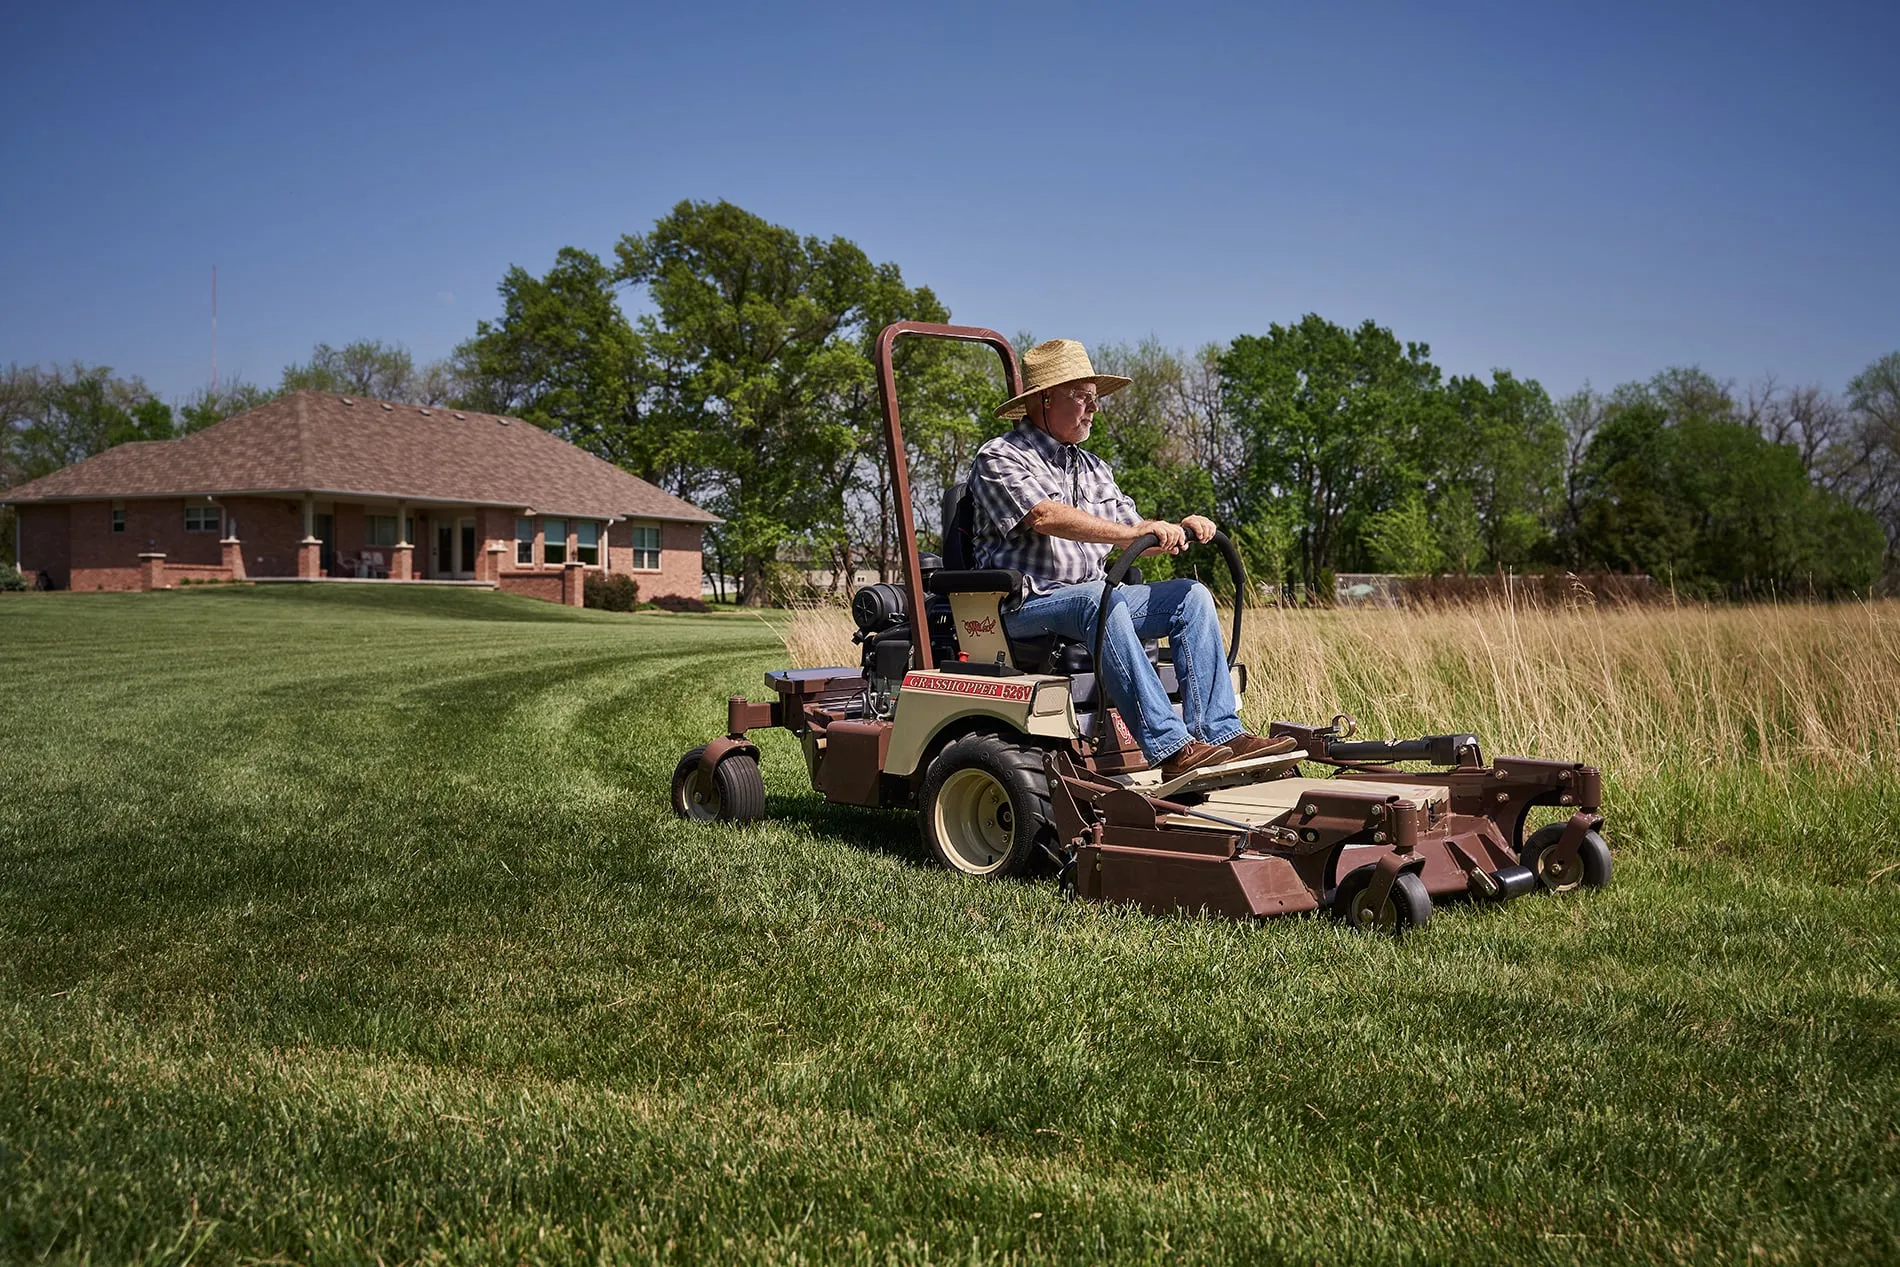
Choose the best mower for your suburban acreage
Read more
Insider
The financial case for buying vs. financing mowers in 2026
Read more
Attachments / Implements

Building a service menu that attracts and retains more lawn care clients
Read more
How Tos
How to evaluate a used mower for commercial use
Read more