Take our quiz to find the best commercial zero-turn mower or best residential zero-turn mower for you.
Easily compare all riding lawn mower attachments to see how you can get more out of your mower.
Your local dealer can also offer great service and support for your riding lawn mower. Find the dealer nearest you.

Elite performance doesn't need to cost elite money. Get 0.98% APR financing for 48 months on any new Grasshopper zero-turn mower.
Mowing OCD: How to clean and wax your mower in five steps

Key takeaways in this article
- Clean and wax your mower: A simple five-step clean-and-wax routine preserves the machine and ensures the best quality cut season after season.
- Blow before you wash: Use low-pressure air — a leaf blower works — to clear clippings first; skipping this step turns the wash into a muddy mess.
- Skip the pressure washer: High-pressure water infiltrates bearings and fittings, causing premature wear — a basic garden hose with a spray nozzle is enough.
- Wax twice a season: Applying mower wax just twice per growing season prevents clippings from sticking and protects painted steel from long-term wear.
- Post-mow blowdown matters: A quick after-mow blowdown and under-deck check — clearing baffles, spindles, and blades — keeps the mower ready for the next cut.
Wonder how a mower can look so new after hundreds of hours mowing countless acres? It's not a secret. The simplest clean-and-wax regimen will preserve the machine, ensure the best quality cut and even prevent grass clippings from clinging to the mower’s surface. For a small investment in time and a little bit of elbow grease, you can keep your mower in optimum condition for years to come.
You’ll see why using low-pressure air to blow away debris and waxing your mower is not OCD—it’s a smart move to maximize the life of your equipment. Here are five steps to get you on track.
1. Prepare The Mower For Cleaning
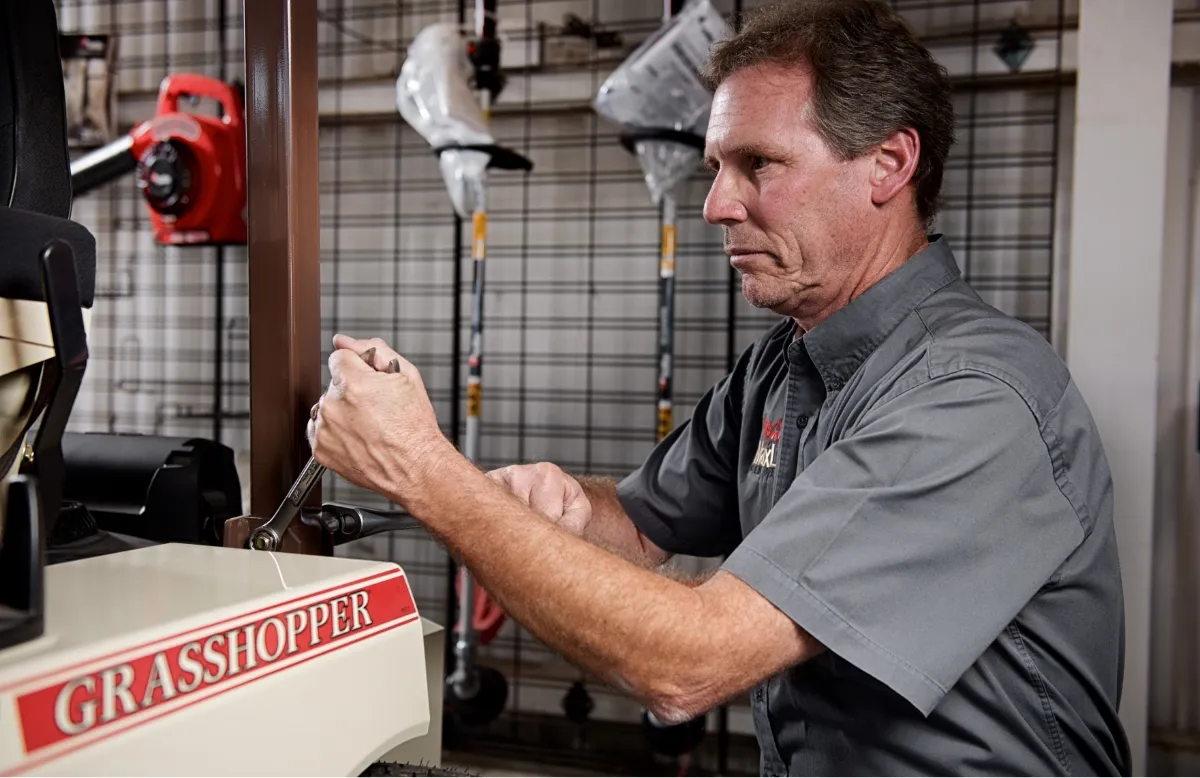
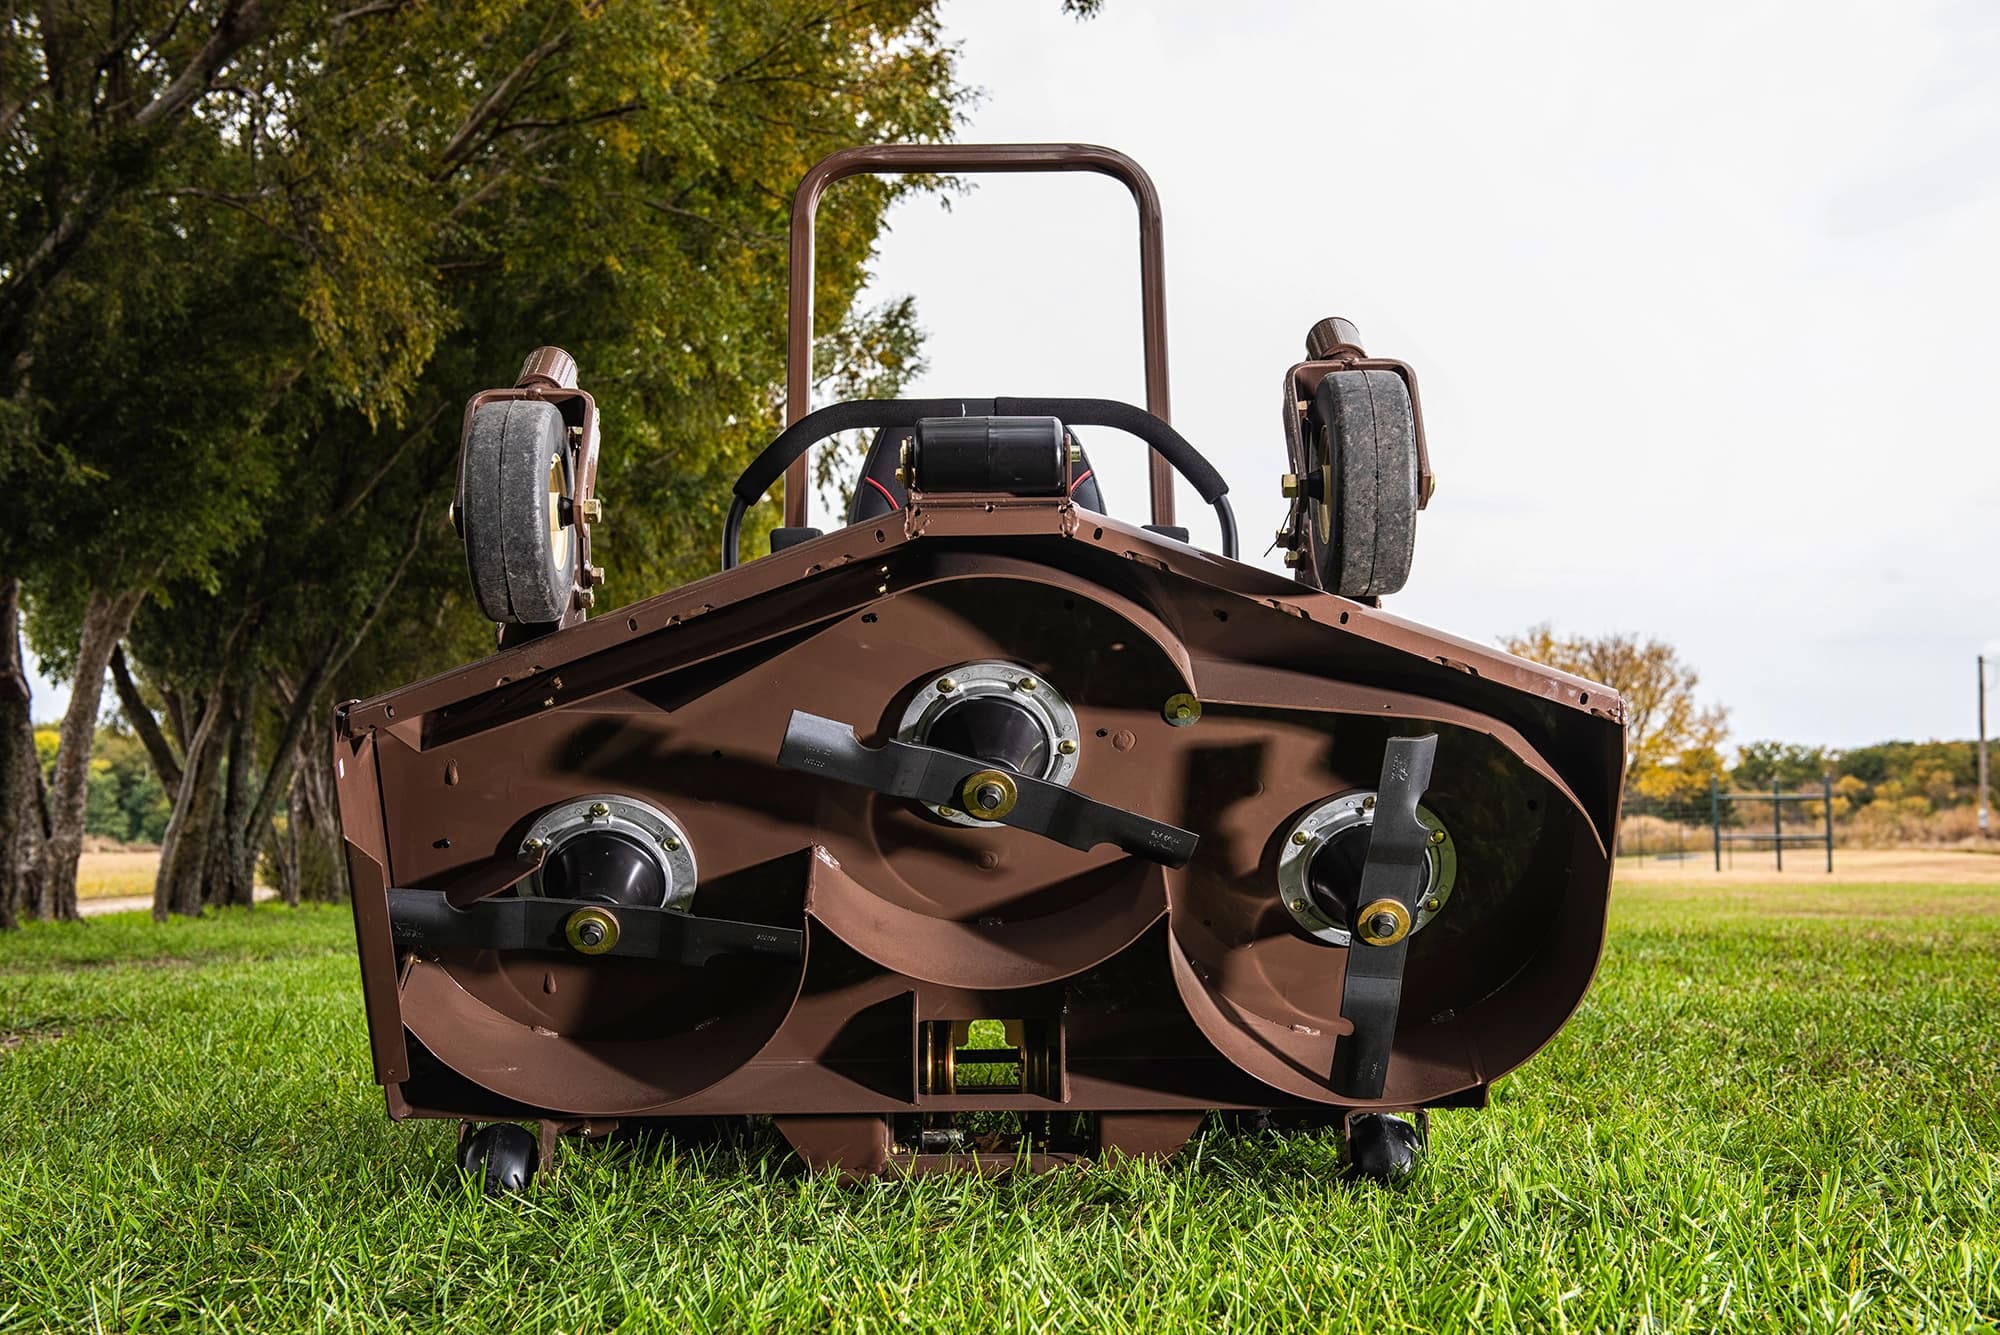
It’s good to prepare a clean-up station by laying down a tarp. Before lifting the deck, disconnect the wire from the spark plug to prevent accidentally igniting the engine while cleaning the mower. If your mower is a front-mount, it might include an automated feature that lifts the mower deck, tilting it up so you can easily clean the undercarriage. Zero-turn mid-mount mowers require using a jack or hoist to lift the front of the mower deck so you can access the blades and undercarriage. You may choose to remove the mower blades by using a socket wrench so you can easily scrape residue from under the deck.
2. Remove Grass, Debris And Dirt
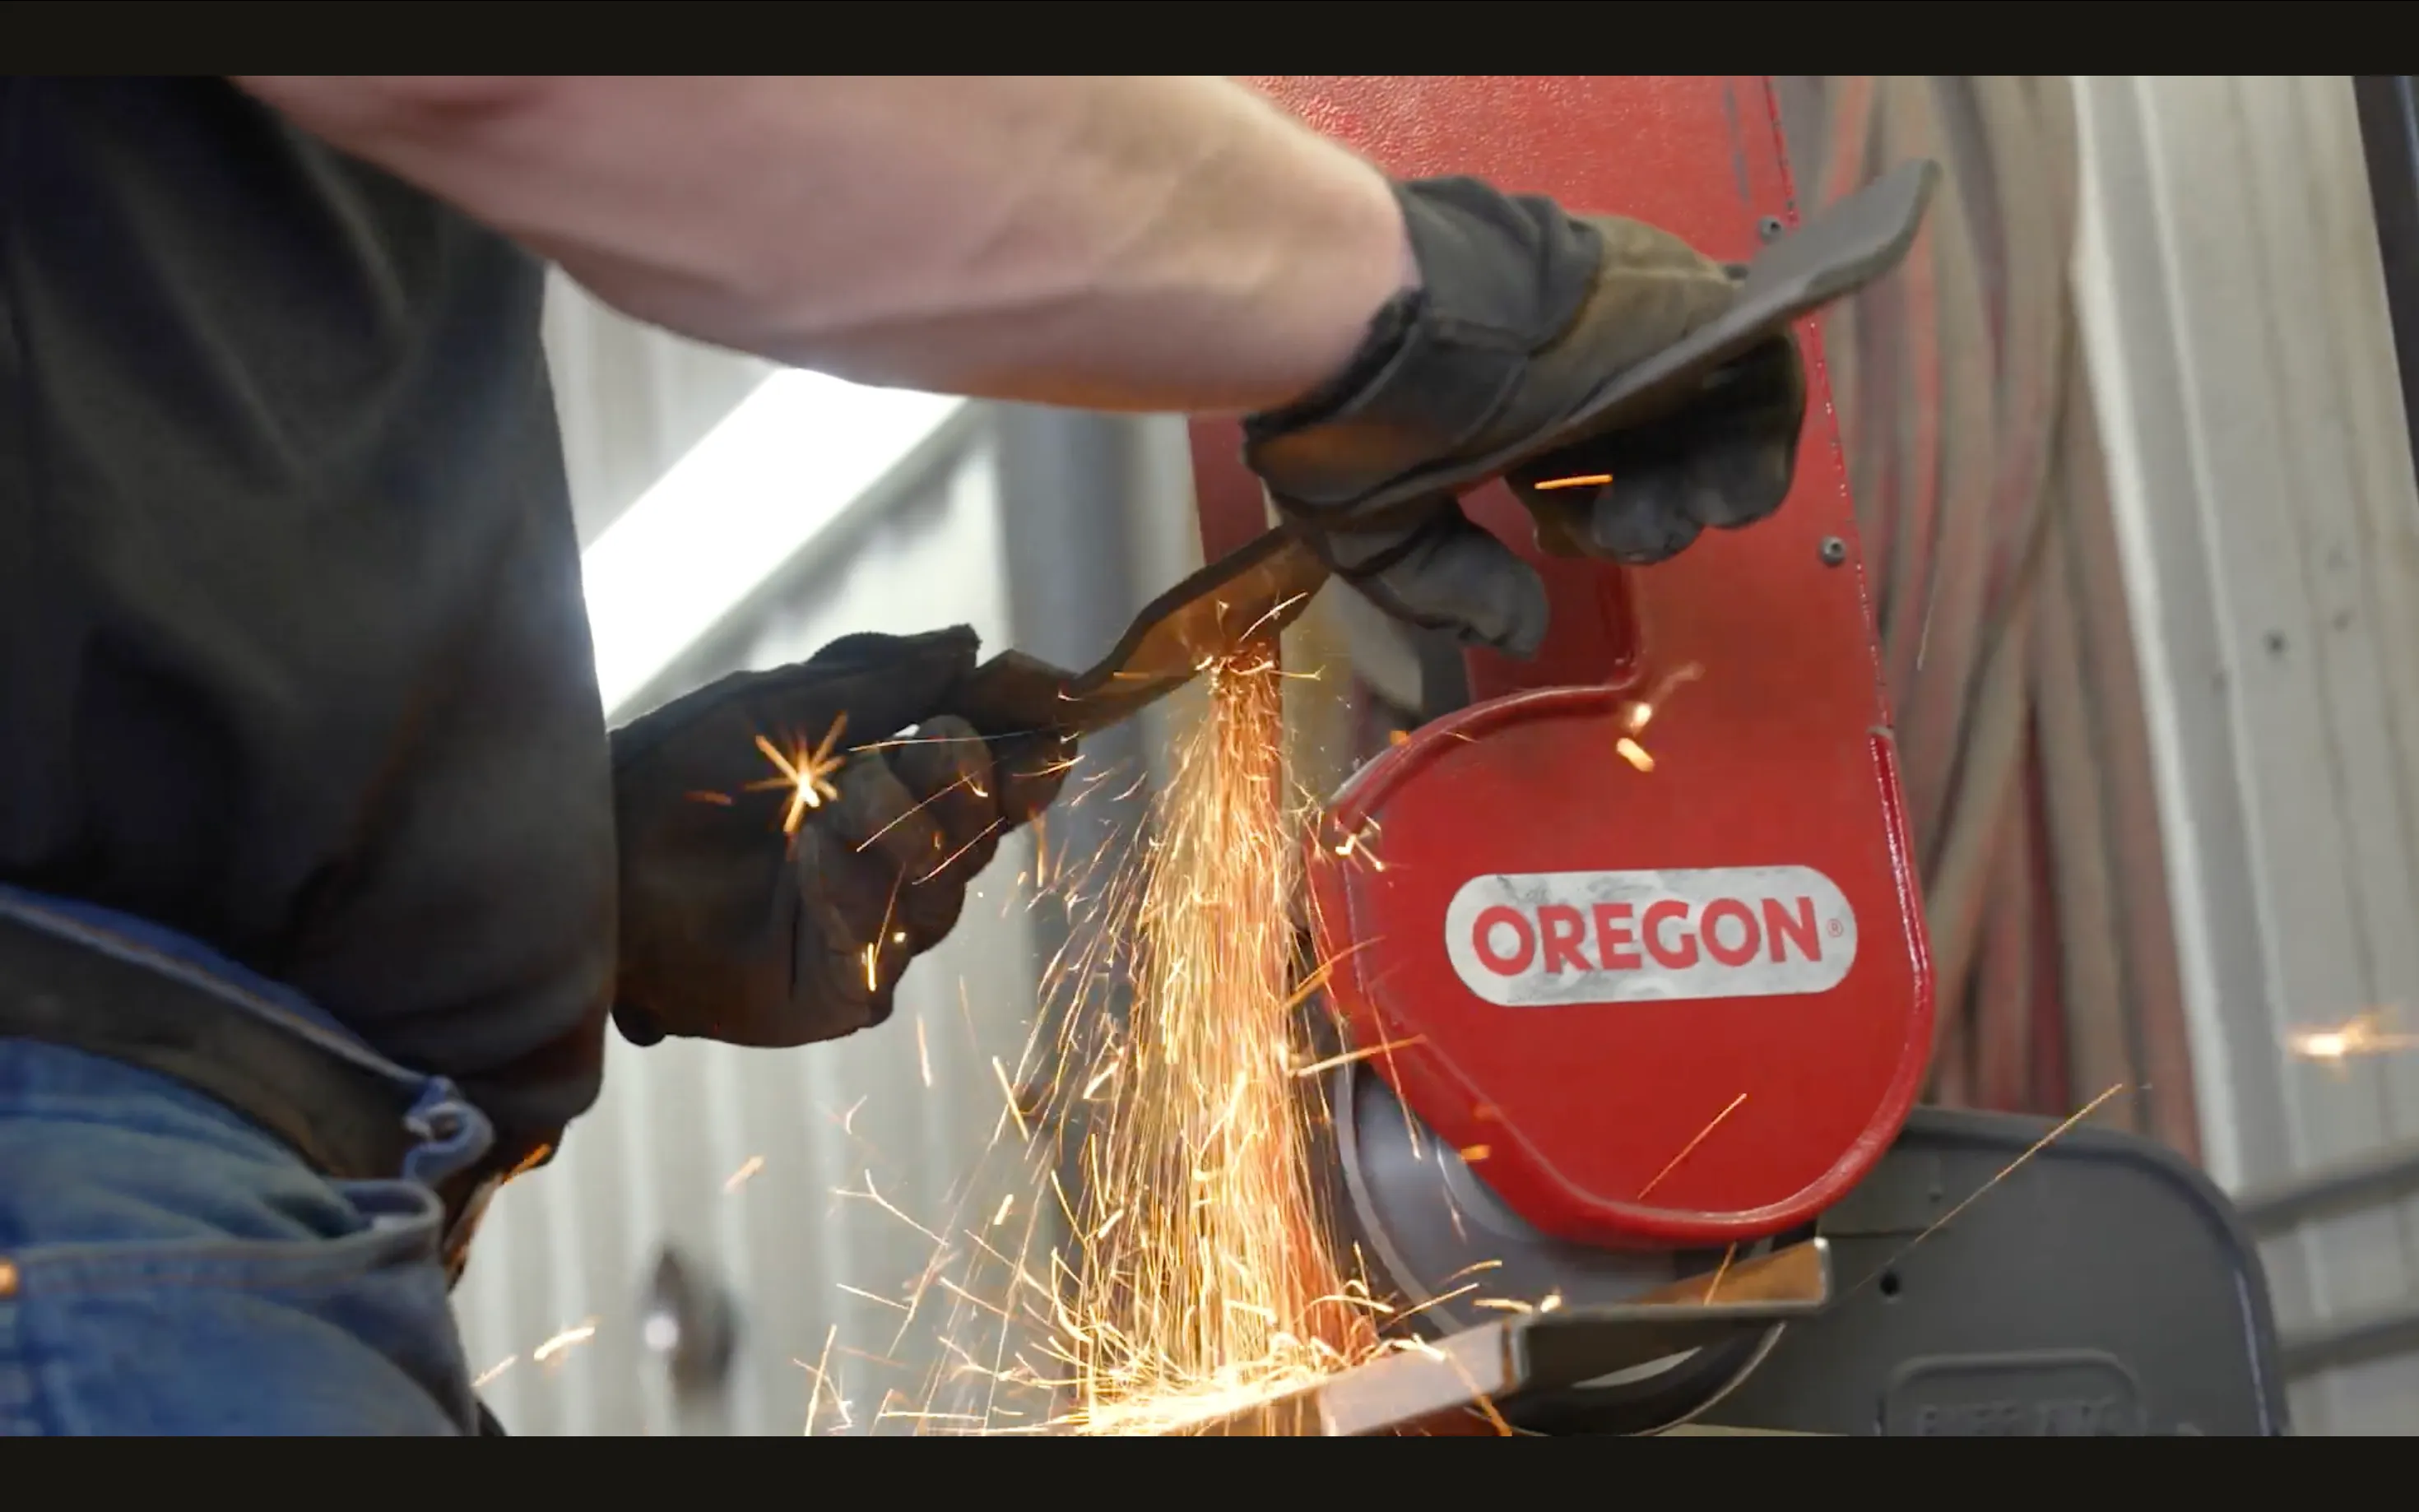
Now, the dirty work. Use low-pressure air—a leaf blower works just fine—to blow grass clippings and debris off the mower surface and out from underneath the deck. You can also use a lightly greased shop towel to spiff up surfaces. For stubborn deposits underneath the deck, a drywall scraper will loosen turf clumps and dried mud, as will a wire brush. Clearing away clumps of grass is important because they can get stuck in the blades and cause mechanical issues. And, if you skip these steps and move to spraying the mower with water, you’ll end up with a muddy mess. With air, a rag and a scraper, you will remove most of the grime and clippings to prepare for a quick, effective wash.
3. Wash The Mower With Low-pressure Water
You can clean your mower without using any type of soap and simply spray with water, but for more thorough jobs, we suggest using an automotive cleanser that will not strip away wax like dish soap will. (We’ll get to the wax next.) Avoid using pressurized water that can infiltrate bearings and fittings, leading to increased wear and premature component failure. A basic hose with a spray nozzle does the job. Finally, allow to dry or fast-forward the process with low-pressure air.
4. Apply Wax To The Mower's Painted Exterior Surfaces
Ever heard of waxing a mower? There are several good reasons to seriously consider it. For one, wax helps keep dirt and debris from sticking to the mower exterior while you’re cutting grass. This makes cleaning much easier, and wax will prolong the painted steel surfaces. And a waxed mower looks better for longer. You only have to wax your mower a couple of times during the growing season to gain the benefits.
5. Keep Up With The Mower Cleaning
After mowing, a quick round of blowing off clippings and checking under the deck for excessive residue will ensure that your mower is ready for the next cut. Remove debris from the mower deck, engine and transmission—and underneath the deck, scrape built-up debris from around baffles, spindles and blades. When you keep up with routine mower cleaning and maintenance, you’ll keep your mower performing for acres and acres.
Ready to talk to a dealer?
Frequently asked questions
To clean a lawn mower, follow five steps: disconnect the spark plug wire, blow off debris with low-pressure air, scrape under the deck, wash with a garden hose using automotive cleanser, then dry and apply wax. Starting with air — not water — prevents turning clippings into mud and makes the wash faster and more effective.
Yes, waxing a lawn mower is worth doing because it prevents grass clippings from sticking to the exterior, protects painted steel surfaces from corrosion, and makes future cleanups much easier. Applying wax to the mower's painted surfaces just twice per growing season is enough to gain these benefits and keep the mower looking newer for longer.
You should not use a pressure washer to clean a lawn mower, because high-pressure water forces its way into bearings and fittings, causing increased wear and premature component failure. A basic garden hose with a spray nozzle provides enough water pressure to rinse the mower thoroughly without risking damage to sensitive mechanical parts.
Use an automotive cleanser — not dish soap — to wash a lawn mower, because dish soap strips away any wax already on the painted surfaces. For lighter jobs, plain water from a garden hose is sufficient; the automotive cleanser is only needed when grime requires a more thorough wash.
To clean under a lawn mower deck, first disconnect the spark plug wire, then lift or tilt the deck using a jack, hoist, or the mower's automated lift feature. Use a drywall scraper or wire brush to loosen dried turf clumps from around baffles, spindles, and blades, then blow out remaining debris with low-pressure air before rinsing. Removing the blades with a socket wrench first makes the undercarriage easier to scrape thoroughly.
.webp&w=3840&q=75)